Brows are currently all the rage in the world of beauty. While we might have plucked them to a nub in the 90’s, the new trend is a significantly easier and less painful look. Say hello to big, full brows! We caught up with Instructor Beatrice to find out how to get the look!

Step 1: Shape & Define
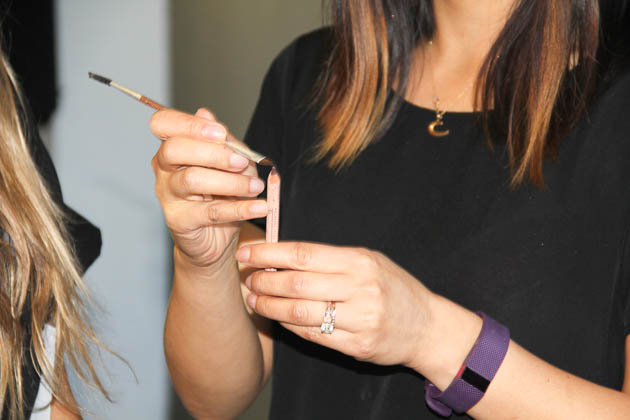
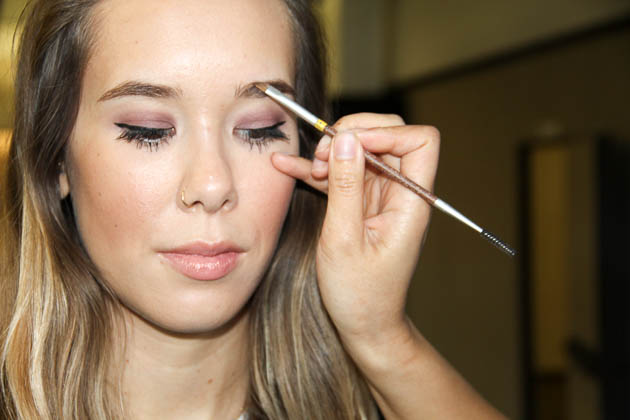
Begin by brushing the brows into place with a “spoolie” or clean mascara wand. For a defined look sweep the Aveda Eye Definer pencil onto an angle brush. Starting underneath, begin outlining the brow, moving in light, short strokes to mimic the texture of your hair. Repeat on top working towards the arch. With any remaining product on your brush sweep the color through the brows for added color and dimension. Skip filling in the head of the brow to avoid a look that is too heavy. If you want a little more drama you can extend the tail of your brows using your angled brush.
How to Choose the Right Shade:
Pick a color that most closely matches your roots. When in doubt go for a shade with grey undertones for a more organic feel. Avoid colors with red undertones that could look too harsh against your natural coloring. For Jane, we used Aveda Eye Definer pencil in Cacao.
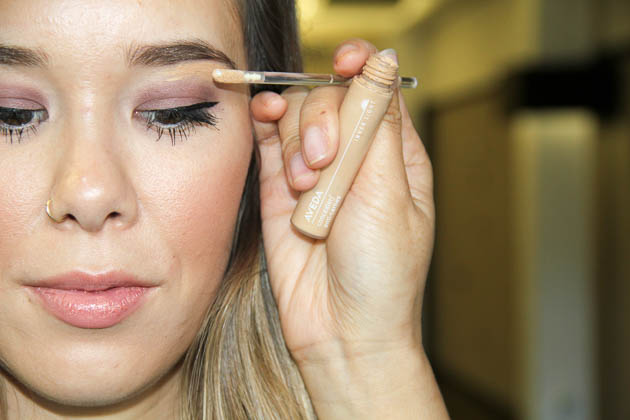
Step 2: Clean It Up
Using a clean “spoolie” tidy your hairs again by brushing up and out. If you think of your face like a clock- keep your brush movements towards 10 and 2. Next, create a clean line by swiping concealer just under the brow. This will help your full brows appear tidy and neat. Your concealer color should either match your skin tone exactly or be a shade lighter for some added highlight.
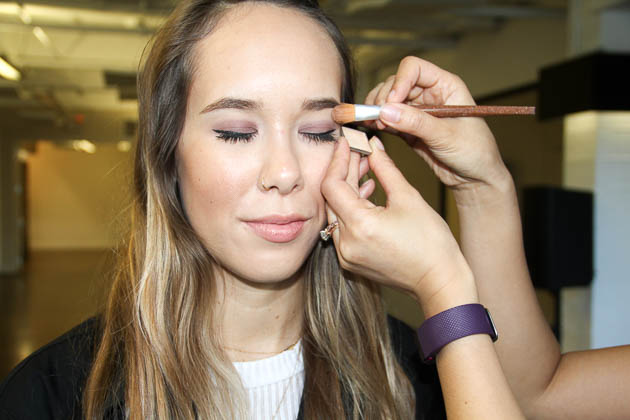
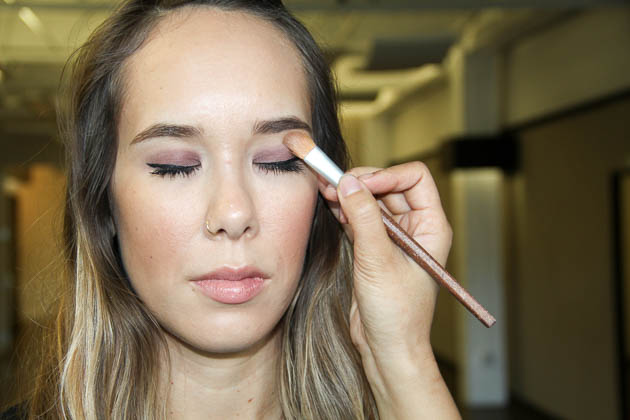
Step 3: Highlight
To really make your brows stand out don’t skip the highlight. Sweep highlight just under the arch of the brow and blend out with a brush. Remember a little goes a long way, we still want our brows to look natural for this look. On Jane, we used Aveda eye shadow in Ivory lotus.
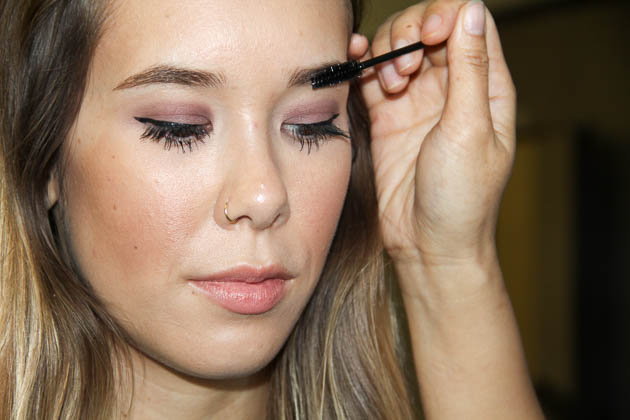
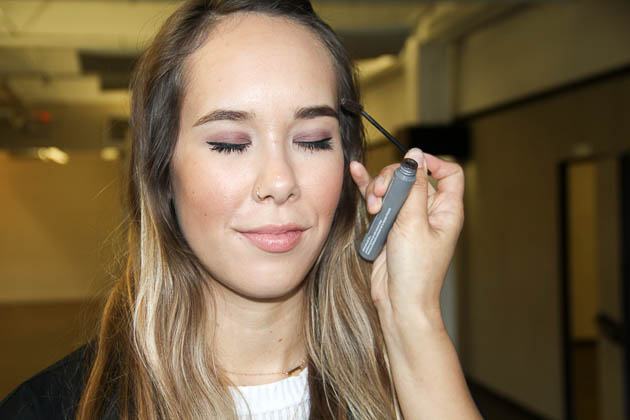
Step 4: Set & Go
Finally, set your brows using a brow gel or a brown mascara. Using Aveda Mosscara, brush through your brows with the mascara wand. Remember to keep a light hand when applying, we don’t want to overwhelm the brows we have already created. This will keep your brows in place and help them last all day long! On Jane we choose Aveda Mosscara in Earth.
PRO-TIP: If you already have semi full brows or just need a quick touch-up skip steps 1-3 and just use Aveda Mosscara to add fast color and dimension.
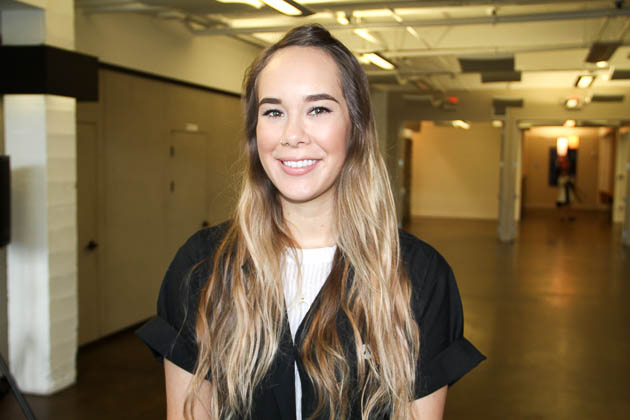
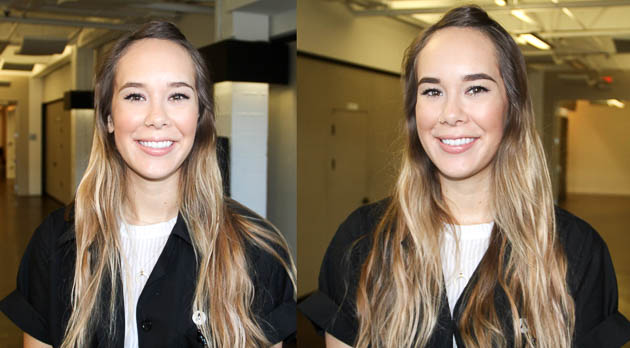
Before & After
Look at what a difference a little work can make! Don't forget to start with a great base by coming in and having a student wax and shape your brows. This will give you the best possible canvas and make defining your brows even easier!